
How to Take Better Window-Light Portraits at Home
Where to place the person, how to turn the face, and what to do when one ordinary window is your only light.
 FilmFX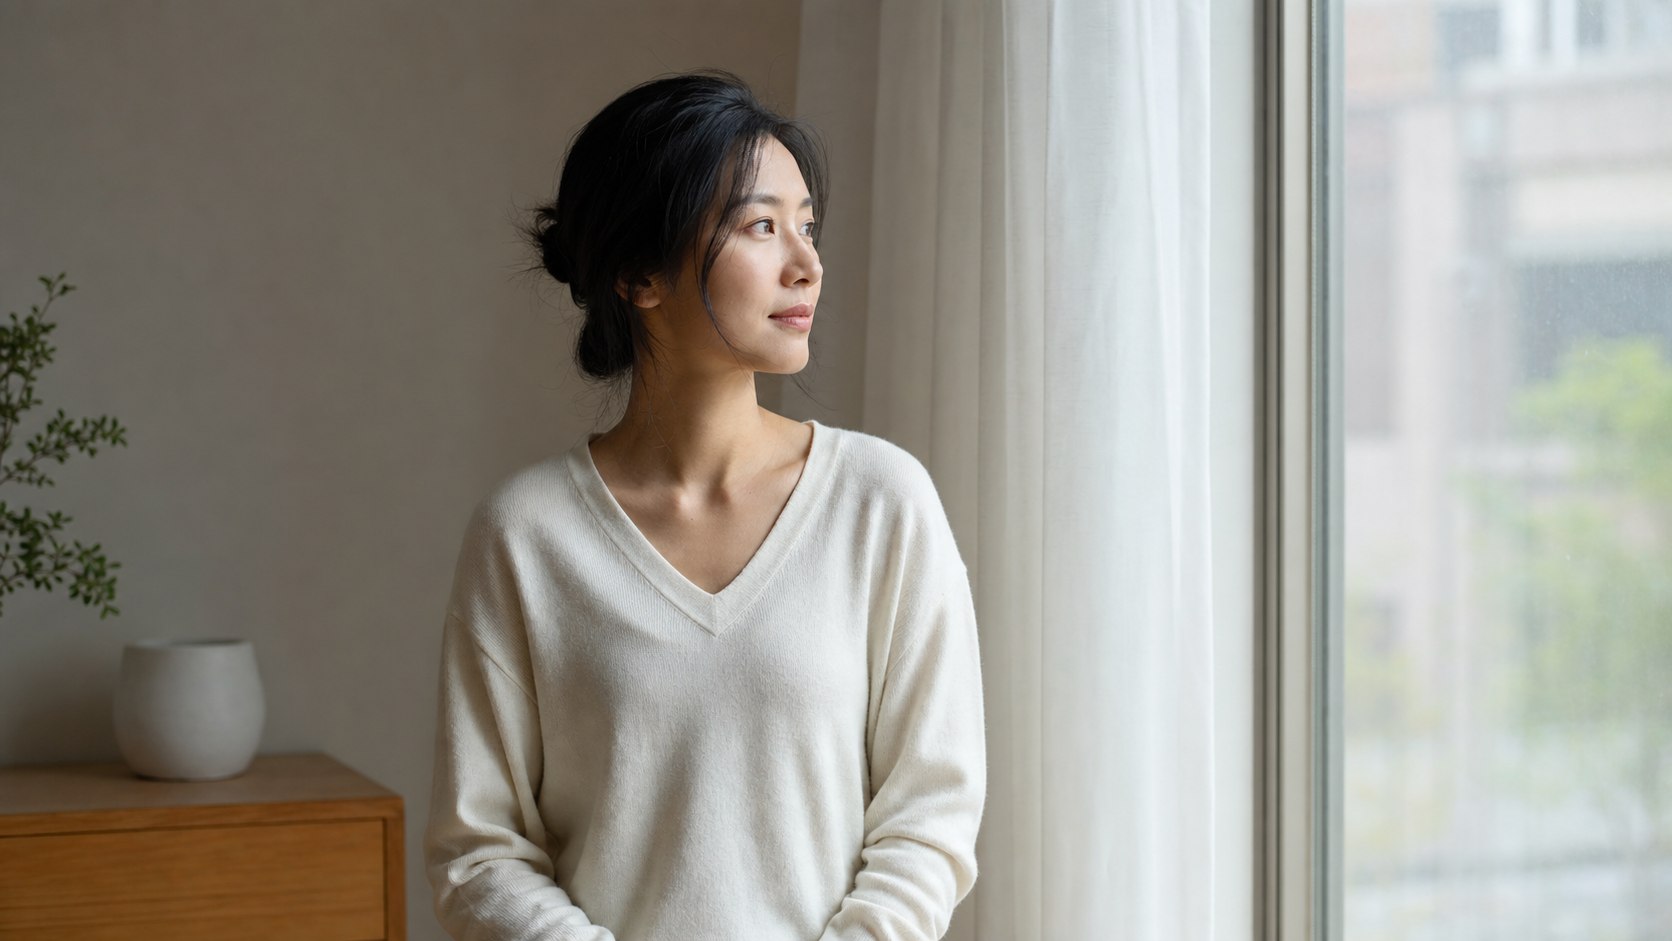
You do not need a large studio window. You need a window you can move around, a background that is not fighting for attention, and a few minutes to watch what the light does to a face.
The important question is not “Is there enough light?” It is “Where is the light coming from, and how quickly does it fall away?”
Turn off the room lights first
Ceiling lights add a second direction and often a second color. The result can be green or orange skin, bright eye sockets, and shadows that are difficult to clean up later.
Turn them off and let the window be the main source. If the room becomes too dark, move the person closer to the window before raising ISO or adding another lamp.
Start at forty-five degrees
Place the person beside the window, then turn their body slightly into the room while their face turns back toward the light. A roughly forty-five-degree angle usually gives one bright side, one gently shaded side, and catchlights in both eyes.
Facing the window straight on produces even, flattering light but less shape. Turning ninety degrees creates stronger drama and a darker far cheek. Neither is more correct; the angle should fit the person and the mood.
Watch the eyes. If the far eye goes completely dark, turn the face a little closer to the window or move the person back so the light spreads more evenly.
Distance changes softness faster than most people expect
Very close to the window, the light source appears large and soft, but brightness can fall off quickly across the face. A step farther back makes the exposure more even, though the light becomes slightly harder.
Try one photograph at arm's length from the window and another about two metres away. Compare the transition from cheek to jaw rather than only looking at overall brightness.
Use the curtain as a light control
Direct sun through glass can create bright patches and sharp nose shadows. A sheer white curtain turns the whole window into a larger diffuser. If you do not have one, wait until a cloud passes or move to a window that is not receiving direct sun.
Avoid coloured curtains. The light passing through them will tint skin, and correcting the face later may push the rest of the room in the opposite direction.
Simplify the background before posing
Move the person half a step left or right and look behind their head. Window frames, shelves, and lamps have a habit of growing out of people in photographs.
A darker background can separate a light face, but it does not need to be empty. One plant, curtain edge, or piece of furniture can make the room feel lived-in. Keep only what helps explain the place.
Expose for the bright side of the face
The shaded cheek can usually be lifted later. A blown forehead or white shirt has much less room to recover.
Use exposure compensation or manual exposure to protect the bright side, then check the histogram if your camera has one. On a phone, tap the bright cheek and drag the exposure down slightly.
A useful camera starting point is f/2.8–f/4, at least 1/250 second for a relaxed adult, and Auto ISO. Keep both eyes sharp before chasing an even blurrier background.
Give the person something small to do
“Act natural” is not an instruction. Ask them to look out of the window, smooth a sleeve, hold a cup, or take one slow breath and look back at you. Small actions give hands somewhere to go and change the expression between frames.
Take the photograph just after the action, not only during it. That brief pause often looks less posed.
A quick window-light checklist
- Room lights off.
- Eyes have a catchlight.
- Bright cheek still has texture.
- Far eye is not lost in shadow.
- Nothing awkward sits behind the head.
- Shutter speed is fast enough for a small movement.
- White balance is neutral enough that skin still looks like skin.
Afterward, a soft portrait look such as Astia Soft, PRO Neg. Std, or Portra 160 can shape the color without undoing the light you worked for. Start below full strength and keep checking the bright side of the face.
Try the Fujifilm-inspired portrait filters on the same frame and use skin, the white of the eye, and the bright cheek as your three checks.