FilmFX

Film grain filter, keep the color, add the texture.

Start with your original colors and add only as much grain as the photo needs. The studio opens directly in the Texture tool; choose a color look separately if you want one.

Try the sample photoYour photo stays on your device

Texture without a whole new color grade.

For a grainy photo, open the tool and adjust Texture → Grain. The texture is computed at the output resolution and blended into your photo; increasing grain size changes the visible flecks while amount controls their strength. Use the original comparison to keep skin, skies and shadows balanced.

Start with a modest amount and inspect the export at its intended display size. A small social image needs less texture than a large print. This page exports a finished photo. If you need a film grain overlay, transparent PNG or seamless repeating texture for another editor, use the separate Grain Overlay generator linked below.
A real before-and-after from this filter

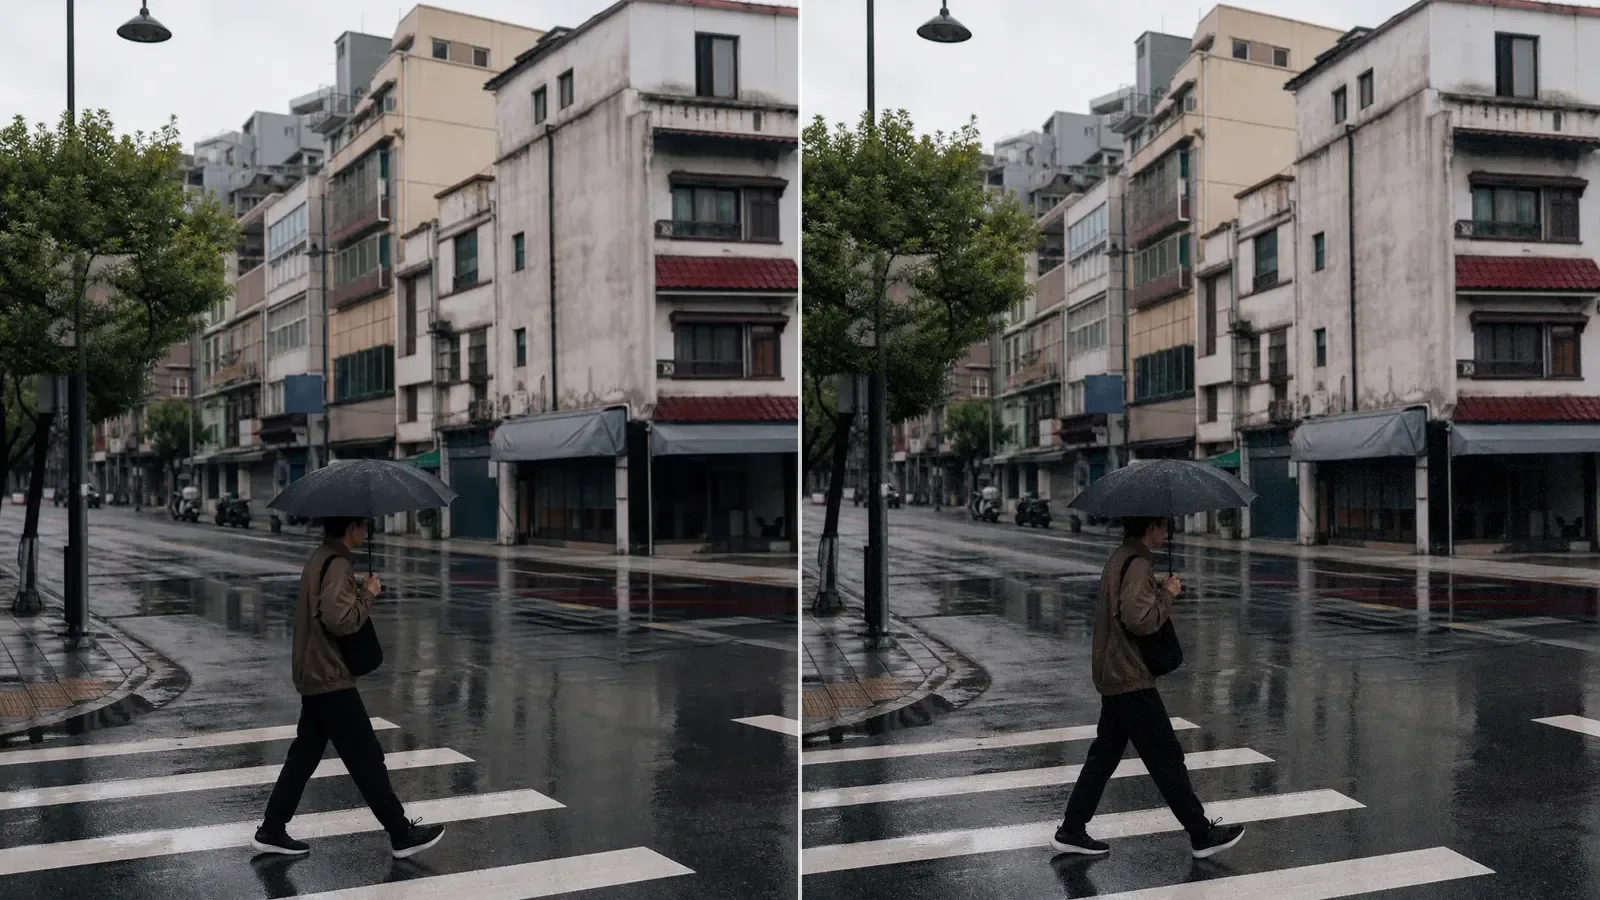
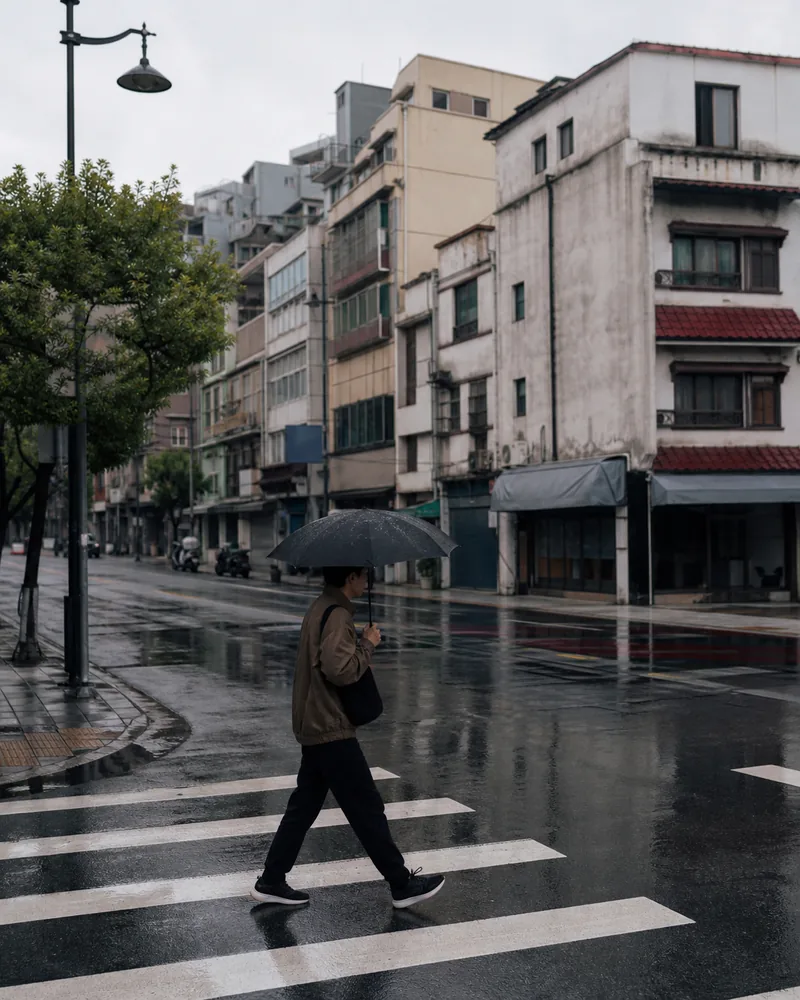
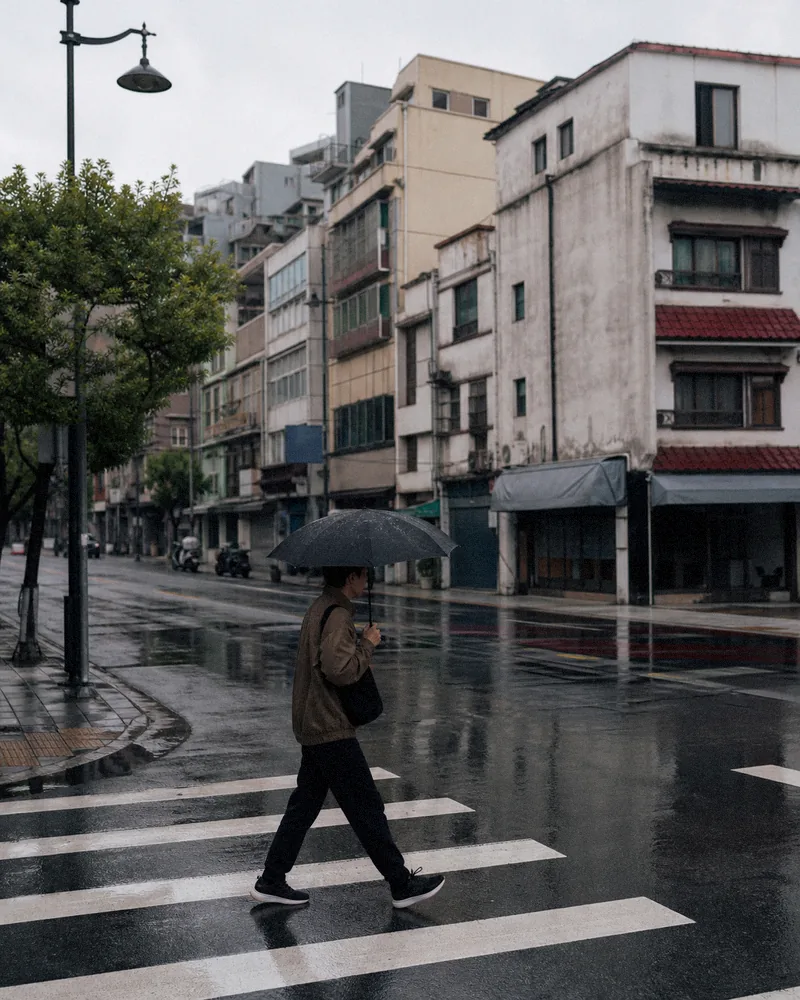
This comparison uses Original at 100% with Texture → Grain 35 and Vignette 0. It adds texture without another color preset, matching this page’s studio entry.

An umbrella-carrying pedestrian crosses a wet city street, with smooth gray pavement and pale building walls.
Original
The same street with generated grain at 35, Original color selected, no vignette and no added color treatment.
Filtered result

Choose the next step for this image

Keep editing the photo, or use a separate tool when you need a texture file, a paper frame or several finished images.

Add grain without reworking the photo

  1. 01

    Start with the original color

    Upload a photo. Original is selected so you can judge texture separately from color. Crop or straighten first if the frame needs it.

  2. 02

    Adjust the visible grain control

    Use Extra grain to find a modest amount, then compare a smooth wall and skin. Leave vignette at zero unless you also want darker edges.

  3. 03

    Inspect the downloaded size

    Download at Original size for the available source detail. Check the export at its intended viewing size; a tiny preview cannot show every grain particle.

Questions worth answering first

FilmFX is independent and is not affiliated with or endorsed by Fujifilm, Kodak, or another film manufacturer. Brand names are used descriptively, and browser results can differ from camera output.

What does a Film grain filter look do to a photo?+

This page starts with Original and an adjustable grain layer, rather than a film-color preset. Grain changes local brightness to suggest texture; it does not apply a warm tint, but it does change image pixels.

Can I add grain without a vintage color cast?+

Yes. Keep Original selected, use Extra grain, and leave vignette at zero. To combine texture with a film look, choose another preset; some presets already include grain, so use less extra texture.

Is adding grain the same as restoring film detail?+

No. Added grain is a generated visual effect. It cannot recover blurred detail, fix clipping or reproduce a particular film stock's physical grain structure. This tool adds texture; it does not remove noise.

Try a neighboring film look

The same photograph can ask for a different answer. These collections are close enough to compare and different enough to be useful.