
Do Photo Filters Reduce Image Quality?
Learn when filters actually reduce photo quality, how resizing and JPEG compression differ, and which export settings preserve the most detail.
 FilmFX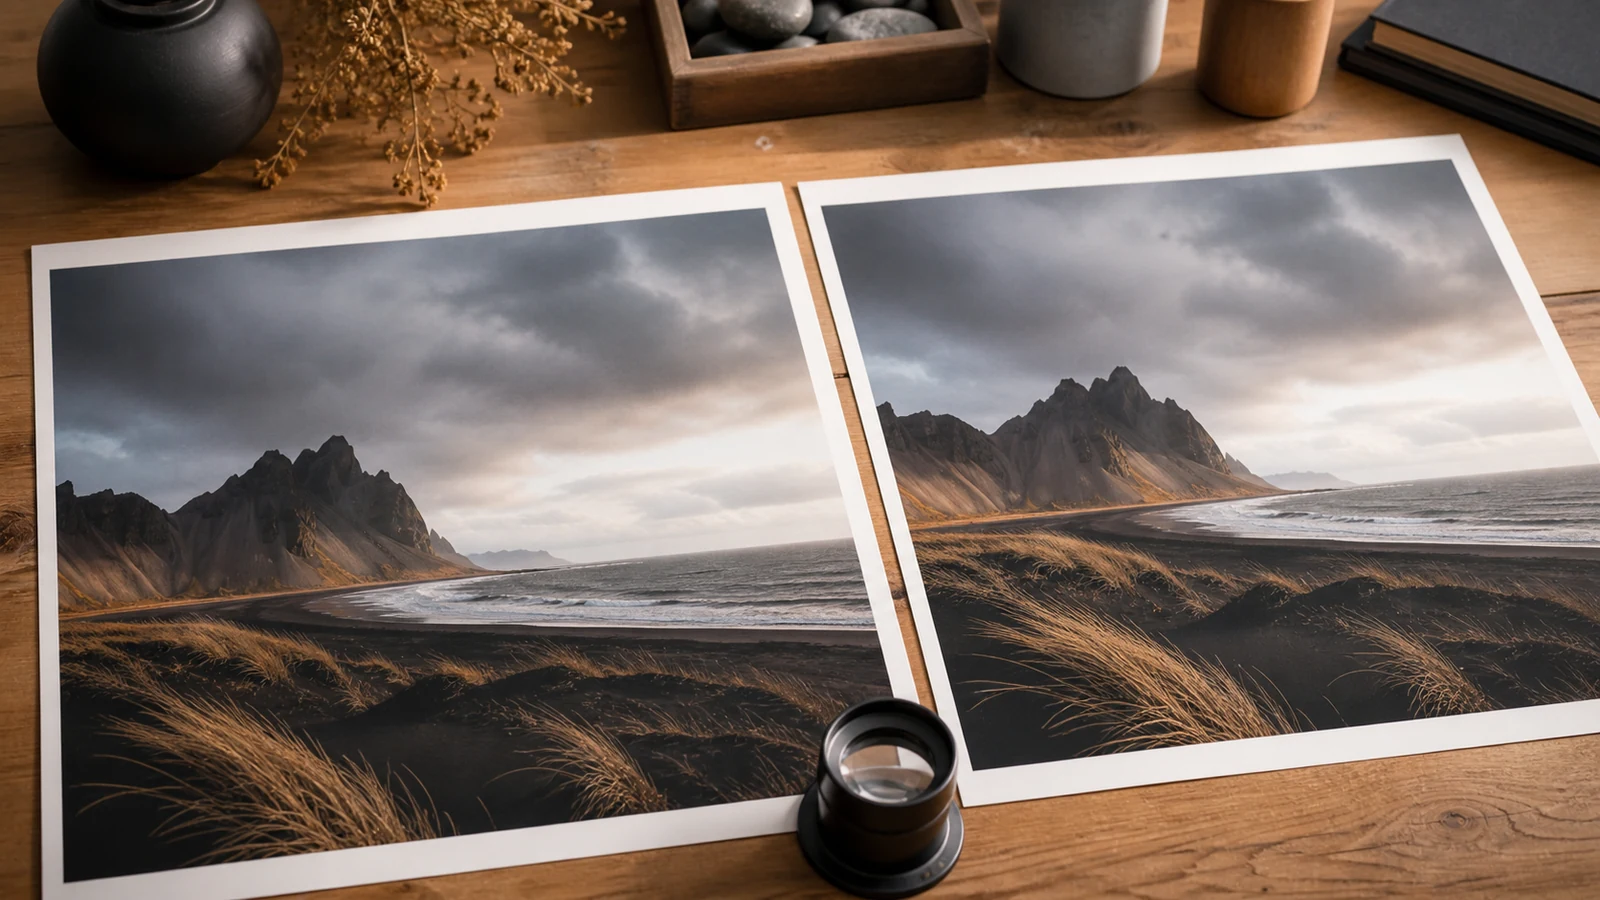
Applying a photo filter creates a new rendering, so it is fair to ask whether something is lost. The honest answer is sometimes—but the filter itself is rarely the only or biggest reason.
People use “image quality” to mean several different things: pixel dimensions, compression, fine detail, tonal range, color gamut, or metadata. A filter can affect some of these while leaving others untouched. Resizing and export settings often matter more than the color look you chose.
First decide what kind of quality you mean
Four changes are commonly bundled together:
- Dimensions: the exported file may contain fewer pixels than the source.
- Compression: JPEG or lossy WebP may simplify fine detail to make the file smaller.
- Tone and color: a strong look can clip highlights, crush shadows, or push colors outside the available range.
- Metadata: a browser-generated file may not retain EXIF, camera settings, date, or GPS information.
These are different losses. A 6000×4000 photograph can keep all 24 million pixels and still show JPEG artifacts. A smaller image can look perfectly clean at its intended display size. A technically sharp export can still feel damaged if its highlights have been pushed to featureless white.
Changing color does not automatically reduce the pixel count
A normal filter reads pixel values and writes new values. If the canvas and export stay at the source dimensions, the number of pixels does not need to change.
What can change is the information inside those pixels. Heavy contrast may turn several distinct shadow values into the same near-black value. Aggressive saturation can make one channel clip before the others. Added grain deliberately replaces some smooth local variation with noise.
That does not make every strong filter “low quality.” Grain, clipped blacks, or hard color can be part of the intended photograph. The important distinction is whether the loss supports the image or happens accidentally.
The label on the look does not decide this. A LUT, preset, and photo filter can all be gentle or destructive; they simply store and apply the edit in different ways. This LUT, preset, and filter comparison explains that workflow difference.
Use the before-and-after divider on three places: the brightest textured highlight, one deep shadow, and an edge with fine detail. If those areas survive, the edit is probably doing what you want rather than simply hiding information.
Resizing is a separate decision—and often the larger one
Reducing a 6000-pixel-wide photograph to 2048 pixels discards far more spatial information than a moderate color adjustment. That may be completely sensible for a website, message, or social post, but it is still the part of the workflow that reduces resolution.
Cropping also reduces available pixels because it removes part of the frame. Straightening a tilted photograph usually trims the rotated corners so no empty triangles remain. Neither operation is a quality bug; they exchange resolution or field of view for a better composition.
If you expect to print, archive, or edit again, keep the untouched source and export a full-size version. Make smaller copies from that master rather than repeatedly opening and saving an already reduced file. FilmFX's crop tool and rotate and straighten tool both work before the final filter and export, so you only need one finished render.
JPEG quality is not the same as image dimensions
JPEG is lossy. It groups and simplifies image information to reduce file size, especially in fine texture and subtle color changes. Saving a JPEG at a high quality can look excellent, but it is not mathematically identical to the pixels before encoding.
Repeated JPEG saves are more risky than one final save. Each generation starts from the artifacts and simplifications of the previous one. The damage is easiest to see around hair, branches, text, sharp edges, and smooth skies.
PNG uses lossless compression, so it does not introduce another lossy encoding step. That does not restore detail already missing from the source, and photographic PNG files are often much larger. WebP can be a useful smaller delivery format, but its result still depends on the selected quality setting.
A practical rule:
- Use high-quality JPEG for ordinary photographs and broad compatibility.
- Use PNG when lossless output or transparency matters more than file size.
- Use WebP when the destination supports it and a smaller web file is useful.
- Avoid a chain of edit → JPEG → edit → JPEG when one final export will do.
Bit depth, HDR, and wide color are another boundary
An HDR phone photo may contain brightness and color information that a standard 8-bit SDR canvas cannot preserve. Mapping HDR, PQ, or HLG content into SDR can change highlight brightness and compress the available tonal range even when the pixel dimensions stay the same.
Display P3 is a wider color gamut than sRGB, but wider gamut does not automatically mean HDR or higher bit depth. It simply makes a larger range of colors available when the browser, canvas, display, and output format all support the path.
FilmFX uses an 8-bit SDR processing pipeline. HDR, PQ, and HLG input is mapped to SDR for editing and export. FilmFX can work in Display P3 when the browser's Canvas implementation supports it, but the result is still 8-bit SDR—not an HDR master.
If preserving the full dynamic range of an HDR original is essential, keep that original and use an HDR-aware editor for the master file. A FilmFX export is better treated as a finished SDR version for sharing.
Metadata may disappear even when the picture looks identical
Browser Canvas export creates a new image file. FilmFX does not carry EXIF or GPS metadata into that export. The visible photograph can be the same size and look excellent while camera model, shutter speed, capture date, orientation tags, and location data are absent.
For many people this is a privacy advantage. For an archive or professional catalog, it may be a reason to keep the camera original beside the edited copy.
What FilmFX preserves by default
FilmFX accepts a source up to 20 MB and 60 million pixels. The default export size is Original, which keeps the post-crop source dimensions up to that 60 MP safety limit. The optional Large and Medium settings use a 4096 px or 2048 px long edge.
The default output is JPEG at 92% quality; PNG and WebP are also available. Processing and export happen locally in the browser. Because the result is a newly encoded 8-bit SDR file without the source metadata, “Original” means original pixel dimensions—not a bit-for-bit copy of the camera file.
That distinction is worth remembering. Dimensions, encoding, color space, and metadata are four separate choices.
A low-risk workflow for keeping the best version
- Keep the untouched source somewhere outside the editor.
- Crop and straighten before choosing the final filter.
- Use the filter-strength slider to protect skin, highlights, and dark detail.
- Choose Original size when you need a master-sized SDR copy.
- Export once in the format that matches the destination.
- Inspect the saved file at 100%, not only the preview inside the editor.
If the destination is the web, also judge the image at the size people will actually see it. A smaller, carefully compressed file can be a better web image than a huge original that loads slowly.
You can try a film photo effect on a full-size source and compare the divider before downloading. If the color is right but the image feels too processed, reduce the filter strength first; changing the file format will not bring clipped tones back.