
Night Street Photography Without a Tripod
Find usable light, choose a shutter speed for people, and keep the color of the night without turning every shadow black.
 FilmFX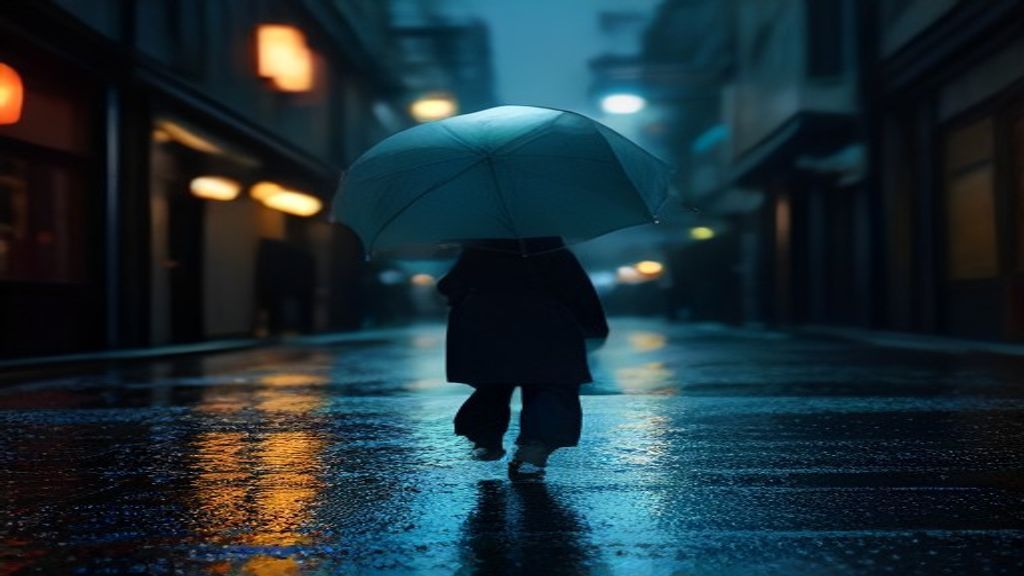
Night street photography is not daylight photography with less light. The bright parts are smaller, the shadows are larger, and several color temperatures can share one frame. The goal is not to make midnight look like noon. It is to decide which pieces of light are enough to build a photograph.
Look for a pool of light, then wait at its edge
Shop windows, bus shelters, food stalls, petrol stations, and street lamps create small stages. Stand where the light falls across a face rather than directly behind it.
The edge of a bright area is often more useful than its centre. People entering or leaving it pick up shape on one side while the background stays recognisably dark.
Choose the light first and let a subject enter. Walking randomly while chasing people usually leaves you with a weak background and no time to set exposure.
Set shutter speed for the person, not your hands
Stabilisation may let you hand-hold a building at 1/15 second. A walking person will still blur.
Use these as rough starting points:
- 1/250 for brisk movement or a subject close to the camera.
- 1/125 for ordinary walking and small gestures.
- 1/60 for someone mostly still, or when a little motion is welcome.
- 1/15–1/30 for deliberate streaks, panning, and abstract movement.
If the face matters, protect it with the faster speed and accept a higher ISO. If movement is the subject, slow down on purpose rather than missing sharpness by accident.
Open the lens, but keep enough focus margin
An f/1.4 lens gathers light, yet the shallow focus can be unforgiving when both you and the subject are moving. f/1.8–f/2.8 is often a better balance.
With a wider lens, zone focus or a small aperture can work near bright areas. With a longer lens, use continuous autofocus and place the focus point on the near eye or high-contrast edge of the face.
Take a short burst when a gesture peaks. Three frames are enough; twenty nearly identical frames make editing harder without improving timing.
Let ISO rise
Noise is visible at night because shadows are large and smooth. Blur is visible because the subject has no sharp edge. In most documentary photographs, a sharp ISO 6400 frame beats a soft ISO 800 frame.
Slight overexposure of the important midtones can also produce a cleaner file than underexposing and lifting everything later. Protect neon signs and bare bulbs, but do not sacrifice the entire person for a tiny light source with no detail to begin with.
Do not neutralise every color
Auto white balance often tries to remove the amber of street lamps or the blue-green cast of fluorescent light. Sometimes that correction removes the feeling of the place.
Try daylight white balance for a consistent series, or choose a fixed Kelvin value and leave it there for a while. Mixed light will stay mixed, which is often more honest than forcing every surface to neutral gray.
When skin becomes intensely orange or green, adjust enough to make it readable—not necessarily perfect.
Use reflections and dark areas as composition
Wet pavement doubles small lights and gives the lower half of the frame something to do. Glass layers interior and exterior scenes. A dark doorway can hide clutter and act as negative space.
Do not automatically lift every shadow. Night needs areas with little or no information. Keep detail where it explains the subject; let unimportant darkness stay dark.
Direct flash is a different decision
Flash does not simply solve low light. It changes the relationship between subject and place. A close face becomes bright, the background falls away, and reflections can flare toward the camera.
Use it when that blunt, immediate look belongs to the moment. Ask before using flash close to strangers, performers, drivers, or anyone who may be distracted by it.
If direct flash is the look rather than a backup plan, this 90s direct-flash guide covers subject distance, ambient light, color, and the limits of recreating flash in post.
A practical starting setup
For people under city light, try manual exposure at f/2, 1/125 second, and Auto ISO with a sensible upper limit. Use continuous autofocus, shoot RAW if available, and set exposure compensation around -1/3 only if bright signs are constantly clipping.
Afterward, Tungsten After Dark or Vision3 500T can keep the cool/warm split. Night Flash '99 suits rough direct flash. Reduce heavy noise before adding grain; they are different textures and stacking both can erase small details.
For the compact-camera side of that night, try the 90s photo filter and keep an eye on bright faces, reflective signs, and useful shadow detail.