
How to Add Film Grain to Photos Without Muddying the Image
Add texture without changing a finished color grade. Learn where to judge grain, how resizing affects it, and when an already noisy photo needs less.
 FilmFX
You can add film grain to a photo without making it yellow, faded or blurry. Start with the color you want, add a small amount of texture, and check three places: a smooth midtone, a face and a dark area. Then inspect the exported file at the size people will actually see.
The important distinction is between adding texture and choosing a whole film look. A preset may change contrast and color as well as grain. If the color is already right, leave it alone.
A quick test before moving the slider
Look at the original at roughly 100% zoom. Is a plain wall already speckled? Do dark areas have colored blotches? If so, adding grain is unlikely to clean them up. Work on the underlying noise first, or use less extra texture.
A smooth daylight image gives you more room to add grain. An underexposed phone photo may have enough texture already. Neither needs to be forced into the same slider setting.
Digital grain is an approximation, not recovered photographic detail. Adobe's grain adjustment documentation separates amount, size and roughness: these are different controls, not interchangeable descriptions of a single “film” effect. FilmFX currently offers extra-grain amount, not separate size and roughness sliders.
Add grain without changing the color
- Open the film grain filter and upload your photo. It starts with Original, grain at 35 and vignette at zero.
- Set Extra grain to zero first. That is your clean reference.
- Raise it gradually. Try 15–35 as a starting range, not a rule. Leave the overall filter strength at 100 while comparing texture.
- Drag the before/after divider across a face, a wall and a shadow.
- Download a copy and compare at your intended viewing size.
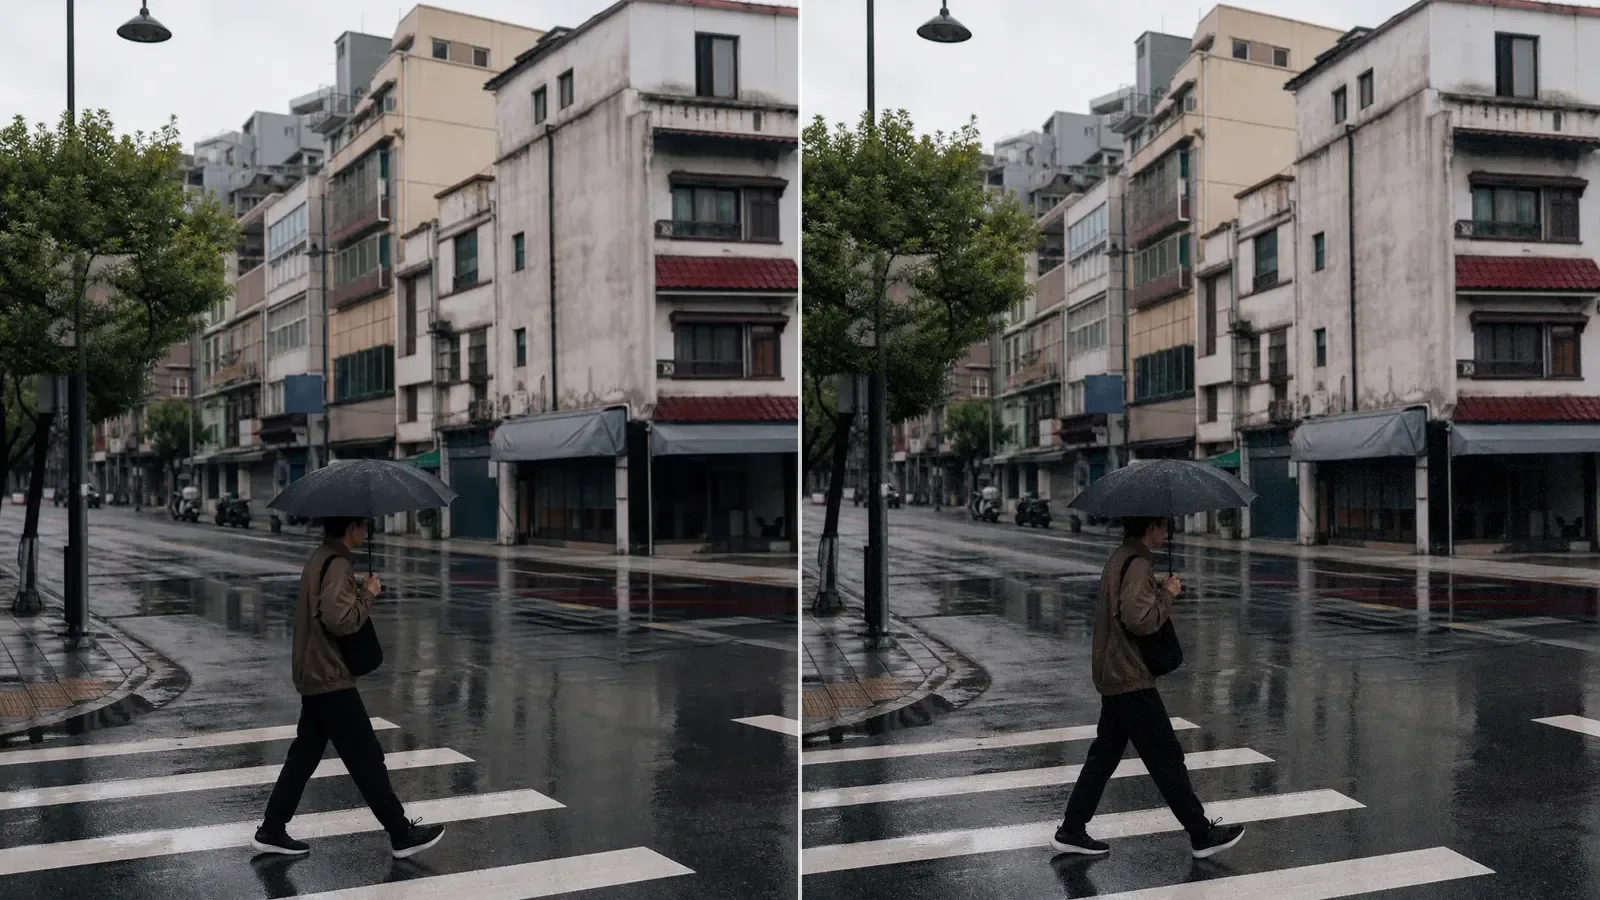
For this example, the left panel keeps the original and the right uses Original + Extra grain 35, with no vignette or color preset. The source is an illustrative scene; both versions use the same pixels before processing.
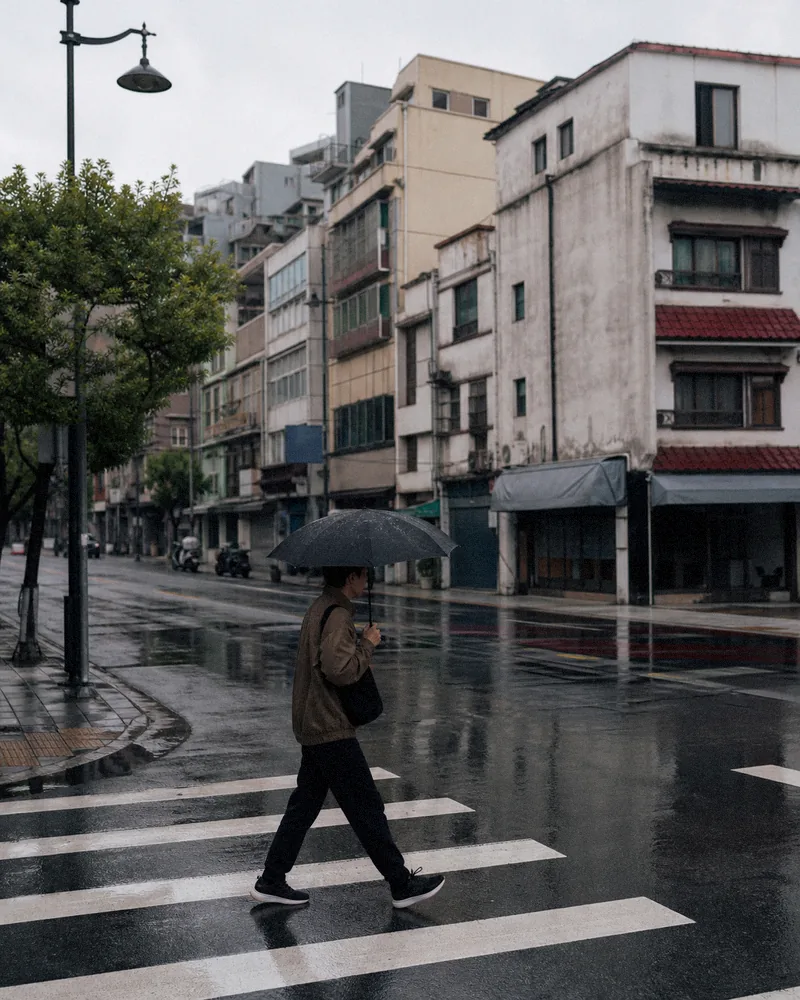
The difference is deliberately modest. Open the larger processed sample if it is hard to judge in the small comparison. On your own photo, smooth areas are more informative than busy foliage or bricks.
Where to stop
There is no universally correct grain percentage. Use the photograph as the test:
- Skin: texture should not overpower eyes, freckles or facial contours.
- Midtones: a wall or sky can carry the effect without becoming the main subject.
- Shadows: existing noise plus extra grain can quickly look muddy.
- Fine detail: if fabric or lettering becomes harder to read, decide whether the added texture is worth that trade-off.
If you also select a color preset, check its texture before adding more. A 35mm film look may already include grain. For a stronger snapshot style, the disposable camera filter starts from a different combination of color, contrast and texture.
Why the download may look different from the preview
A preview is smaller than a full-resolution photo. Fine texture can disappear when you zoom out, and JPEG compression or a social platform's resizing can soften it further. The preview helps you choose a direction; the output file is the final check.
Choose Original output size to keep the available source dimensions, within the editor's safety limits. PNG uses lossless encoding, but that does not undo earlier edits or restore missing detail. JPG is often more convenient for sharing; avoid repeatedly downloading, reuploading and recompressing the same copy. There is more detail in whether photo filters reduce image quality.
When another editor makes more sense
Use a layer-based editor if you need local masks, separately adjustable particle size, exact matching to a scanned film sample, or a print-specific workflow. A simple amount slider is useful for a quick texture pass, not every finishing task.
For a fast check on your own image, add film grain in the browser. Start with Original, compare before and after, and keep the untouched file.